更新时间:2022-12-17 16:03:21浏览次数:479+次
本文介绍在Ubuntu 22.04(Jammy Jellyfish)系统上安装Zabbix Server 6.0的方法,包括配置Zabbix Server 6.0。请确保Ubuntu 22.04上安装有Apache、MariaDB、PHP,可参考在Ubuntu 22.04系统上快速安装LAMP堆栈一文。
添加Zabbix APT存储库
我们将官方Zabbix存储库添加到Ubuntu 22.04(Jammy Jellyfish)系统中。首先安装wget:
sudo apt install wget -y
下载repository.deb包文件:
wget https://repo.zabbix.com/zabbix/6.0/ubuntu/pool/main/z/zabbix-release/zabbix-release_6.0-4%2Bubuntu22.04_all.deb
安装下载的存储库文件:
$ sudo dpkg -i zabbix-release_*ubuntu22.04_all.deb
Selecting previously unselected package zabbix-release.
(Reading database ... 237793 files and directories currently installed.)
Preparing to unpack zabbix-release_6.0-4+ubuntu22.04_all.deb ...
Unpacking zabbix-release (1:6.0-4+ubuntu22.04) ...
Setting up zabbix-release (1:6.0-4+ubuntu22.04) ...
在Ubuntu 22.04上安装Zabbix服务器
通过添加和配置存储库,Zabbix服务器包可以安装在Ubuntu 22.04上:
sudo apt update
sudo apt install vim zabbix-server-mysql zabbix-frontend-php zabbix-apache-conf zabbix-sql-scripts zabbix-agent
启用PHP CGI:
sudo a2enconf php8.*-cgi
确保为服务器设置了正确的时区:
$ sudo vim /etc/php/*/apache2/php.ini
; http://php.net/date.timezone
date.timezone = "Asia/Shanghai"
进行更改后重新启动apache2 web服务器:
sudo systemctl restart apache2
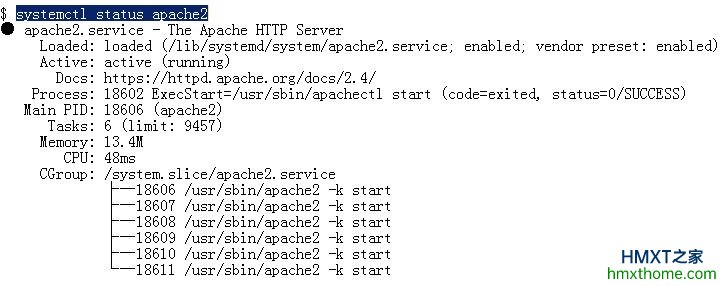
确认web服务器服务正在运行:
$ systemctl status apache2
apache2.service - The Apache HTTP Server
Loaded: loaded (/lib/systemd/system/apache2.service; enabled; vendor preset: enabled)
Active: active (running)
在Ubuntu 22.04上配置Zabbix服务器
以根数据库用户身份登录MariaDB shell:
$ sudo mysql -u root
Welcome to the MariaDB monitor. Commands end with ; or \g.
Your MariaDB connection id is 31
Server version: 10.6.7-MariaDB-2ubuntu1.1 Ubuntu 22.04
Copyright (c) 2000, 2018, Oracle, MariaDB Corporation Ab and others.
Type 'help;' or '\h' for help. Type '\c' to clear the current input statement.
MariaDB [(none)]>
为Zabbix创建数据库和用户:
CREATE DATABASE zabbix character set utf8 collate utf8_bin;;
GRANT ALL PRIVILEGES ON zabbix.* TO zabbix@'localhost' IDENTIFIED BY 'StrongDBPassw0rd';
FLUSH PRIVILEGES;
QUIT
使用以下命令导入数据库数据:
sudo zcat /usr/share/zabbix-sql-scripts/mysql/server.sql.gz | mysql -uzabbix -p'StrongDBPassw0rd' zabbix
编辑服务器配置文件并设置数据库凭据:
$ sudo vim /etc/zabbix/zabbix_server.conf
DBName=zabbix
DBUser=zabbix
DBPassword=StrongDBPassw0rd
重新启动Zabbix服务:
sudo systemctl restart zabbix-server zabbix-agent apache2
还将服务设置为在系统启动时启动:
sudo systemctl enable zabbix-server zabbix-agent apache2
可以使用以下命令检查已启动服务的状态:
systemctl status zabbix-server zabbix-agent apache2
按下来就可以访问Zabbix服务器Web UI并配置了,请使用URL访问Zabbix UI,地址格式为http://SeverIP/zabbix/或http://hostname/zabbix/。
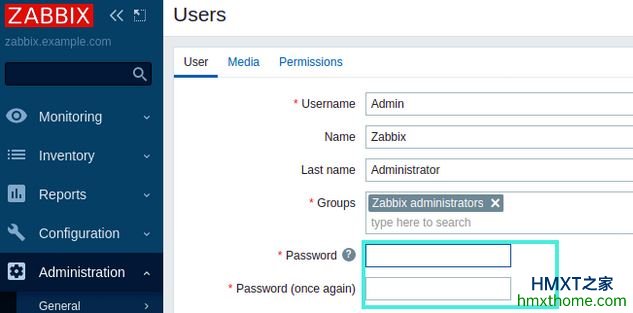
完成后可以更改管理员用户密码,可转到“管理”>“用户”>“管理员”>“密码”>“更改密码”(Administration > Users > Admin > Password > Change Password)操作:
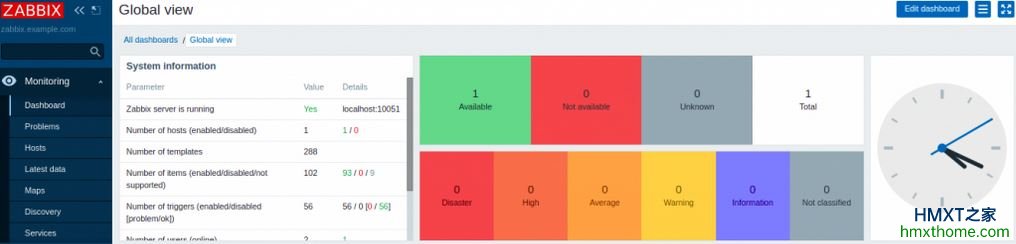
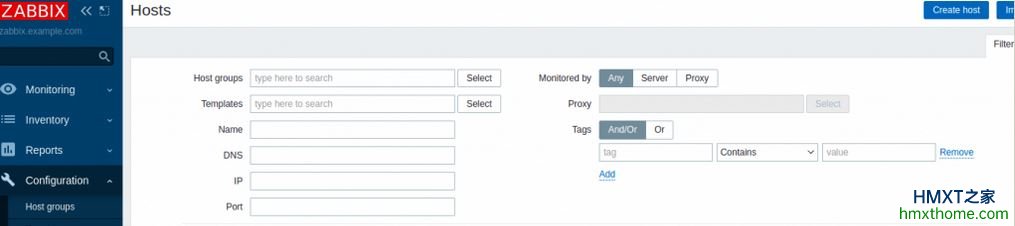
最后,将目标主机添加到Zabbix,要由Zabbix服务器监控的目标主机添加到配置>主机(Configuration > Hosts)下,您应该看到localhost状态已启用:
这意味着本地服务器已标记为要监视,可以在监控>主机(Monitoring > Hosts)下查看图表和仪表板。至此,在Ubuntu 22.04系统上安装Zabbix Server 6.0全部完成。
相关资讯


