更新时间:2022-12-27 10:12:13浏览次数:463+次
本文介绍在Ubuntu 22.04 Linux操作系统上安装Graylog 4的详细步骤,需要安装Java、Elasticsearch和MongoDB。Graylog是一个开源日志聚合和管理工具,可用于存储、分析和发送收集的日志中的警报,它可用于使用ElasticSearch和MongoDB分析结构化和非结构化日志,这包括各种系统,包括Windows系统、Linux系统、不同的应用程序和微服务等,它使得从单个主机轻松分析和监控这些系统和应用程序变得更加容易。要安装Graylog 4,请确保主机有4个CPU核心、8GB内存、用于Elasticsearch日志存储的高IOPS SSD硬盘空间、Ubuntu 22.04 LTS已安装并更新升级所有程序包,满足这些基本条件后,就可以开始安装Graylog 4了。
安装Graylog 4的详细步骤
步骤1、在Ubuntu 22.04上安装Java
在安装Java之前,让我们更新和升级我们的系统:
sudo apt update && sudo apt -y full-upgrade
我们强烈建议您在升级后重新启动系统:
[ -f /var/run/reboot-required ] && sudo reboot -f
Graylog安装需要Java版本8或更高版本。在本文中,我们将使用openJDK11:
sudo apt update
sudo apt install vim apt-transport-https openjdk-11-jre-headless uuid-runtime pwgen curl dirmngr
您可以使用java-version命令验证刚刚安装的java版本:
$ java -version
openjdk version "11.0.15"
OpenJDK Runtime Environment (build 11.0.15+10-Ubuntu-0ubuntu0.20.04.1)
OpenJDK 64-Bit Server VM (build 11.0.15+10-Ubuntu-0ubuntu0.20.04.1, mixed mode, sharing)
步骤2、在Ubuntu 22.04上安装Elasticsearch
Elastic search是用于存储和分析来自外部源的传入日志的工具。它使用基于web的RESTful API。
下载并安装Elasticsearch GPG签名密钥:
curl -fsSL https://artifacts.elastic.co/GPG-KEY-elasticsearch | sudo gpg --dearmor -o /etc/apt/trusted.gpg.d/elastic.gpg
将Elasticsearch存储库添加到源列表:
echo "deb https://artifacts.elastic.co/packages/oss-7.x/apt stable main" | sudo tee /etc/apt/sources.list.d/elastic-7.x.list
安装Elasticsearch:
sudo apt update
sudo apt install elasticsearch-oss -y
为Graylog配置群集名称:
sudo vim /etc/elasticsearch/elasticsearch.yml
将群集名称编辑为graylog:
cluster.name: graylog
在同一文件中添加以下信息:
action.auto_create_index: false
重新加载守护程序以启动Elasticsearch服务:
sudo systemctl daemon-reload
sudo systemctl restart elasticsearch
sudo systemctl enable elasticsearch
您可以通过以下方式检查服务状态:
$ systemctl status elasticsearch
elasticsearch.service - Elasticsearch
Loaded: loaded (/lib/systemd/system/elasticsearch.service; enabled; vendor preset: enabled)
Active: active (running)
Elasticsearch在端口9200上运行,这可以通过curl命令进行:
curl -X GET http://localhost:9200
您应该在输出中看到集群名称:
$ curl -X GET http://localhost:9200
{
"name" : "ubuntu",
"cluster_name" : "graylog",
"cluster_uuid" : "RsPmdLmDQUmNGKC-E4JPmQ",
"version" : {
"number" : "7.10.2",
"build_flavor" : "oss",
"build_type" : "deb",
"build_hash" : "747e1cc71def077253878a59143c1f785afa92b9",
"build_date" : "2021-01-13T00:42:12.435326Z",
"build_snapshot" : false,
"lucene_version" : "8.7.0",
"minimum_wire_compatibility_version" : "6.8.0",
"minimum_index_compatibility_version" : "6.0.0-beta1"
},
"tagline" : "You Know, for Search"
}
步骤3、在Ubuntu 22.04上安装MongoDB
从Ubuntu的基本存储库下载并安装mongoDB:
sudo apt update
sudo apt install mongodb-server -y
启动MongoDB:
sudo systemctl start mongodb
sudo systemctl enable mongodb
$ systemctl status mongodb
mongodb.service - An object/document-oriented database
Loaded: loaded (/lib/systemd/system/mongodb.service; enabled; vendor preset: enabled)
Active: active (running)
步骤4、在Ubuntu 22.04上安装Graylog Server
下载并配置Graylog存储库:
wget https://packages.graylog2.org/repo/packages/graylog-4.3-repository_latest.deb
sudo dpkg -i graylog-4.3-repository_latest.deb
安装Graylog服务器:
sudo apt update
sudo apt install graylog-server
使用pwgen命令生成密码以保护用户密码:
pwgen -N 1 -s 96
输出应如下所示:
FFP3LhcsuSTMgfRvOx0JPcpDomJtrxovlSrbfMBG19owc13T8PZbYn
编辑graylog配置文件以添加我们刚刚创建的密码:
sudo vim /etc/graylog/server/server.conf
找到password_secret =行并在其后面添加上面创建的密码:
password_secret = FFP3LhcsuSTMgfRvOx0JPcpDomJtrxovlSrbfMBG19owc13T8PZbYn
如果要使用服务器IP地址和端口进行Graylog接口,请将http_bind_Address设置为可以连接的计算机的公共主机名或公共IP地址:
$ sudo vim /etc/graylog/server/server.conf
http_bind_address = 0.0.0.0:9000
下一步是为管理员创建哈希sha256密码。这是登录web界面所需的密码:
$ echo -n "Enter Password: " && head -1 </dev/stdin | tr -d '\n' | sha256sum | cut -d" " -f1
Enter Password: password
您将得到这样的输出:
e3c652f0ba0b4801205814f8b6bc49672c4c74e25b497770bb89b22cdeb4e951
编辑/etc/graylog/server/server.conf文件,然后将哈希密码放在root_password_sha2 =:
$ sudo vim /etc/graylog/server/server.conf
root_password_sha2 = e3c652f0ba0b4801205814f8b6bc49672c4c74e25b497770bb89b22cdeb4e951
Graylog现已配置完毕,可供使用。
启动Graylog服务:
sudo systemctl daemon-reload
sudo systemctl restart mongodb graylog-server
sudo systemctl enable mongodb graylog-server
您可以从日志中检查服务是否已成功启动:
sudo tail -f /var/log/graylog-server/server.log
输出:
INFO [ServerBootstrap] Graylog server up and running.
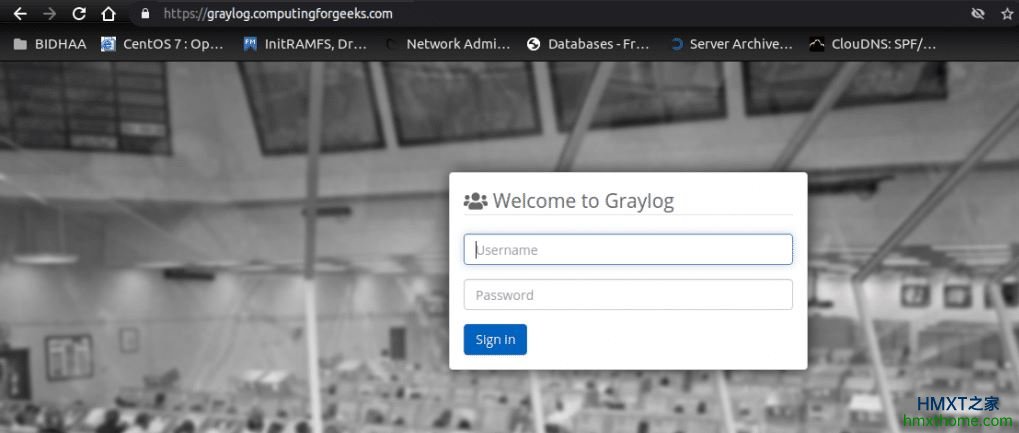
然后,您可以在以下位置访问graylog web控制中心:
http://<serverip_hostname>:9000
到这里,Graylog 4安装完成了。用户也可以选择去配置SSL证书,使得https可访问:
注:同样的方法在Ubuntu 20.04下也可参考,安装其他的Graylog版本也可参考。
相关资讯


