更新时间:2023-02-05 10:42:28浏览次数:205+次
本文介绍如何在Debian 11/10系统上安装和配置Plex媒体服务器的详细步骤。Plex是最受欢迎的免费媒体服务器之一,由于其简单美观的界面,用户可以组织音乐、视频和电视节目,因此非常喜欢它,也可以使用客户端应用程序如移动应用程序Roku访问和共享这些媒体。在安装配置之前,首先将Debian软件包更新到最新版本,请执行sudo apt update && sudo apt upgrade -y命令,然后安装所需的软件包,请执行sudo apt install apt-transport-https curl vim wget sudo gnupg2 -y命令。
安装和配置Plex媒体服务器的步骤
步骤1、在Debian 11/Debian 10上添加Plex Repository
有一个存储库提供Plex包。为了在Debian 11/Debian 10上安装Plex,我们需要将这个存储库添加到我们的系统中。
使用以下命令添加Plex存储库:
echo "deb https://downloads.plex.tv/repo/deb public main" | sudo tee /etc/apt/sources.list.d/plexmediaserver.list
导入存储库的GPG密钥:
curl https://downloads.plex.tv/plex-keys/PlexSign.key | sudo apt-key add -
步骤2、在Debian 11/Debian 10上安装Plex Media Server
添加了存储库后,我们现在可以继续在Debian 11/Debian 10上安装最新版本的Plex。
首先,更新APT包索引:
sudo apt update
在添加的Plex repo中,安装Plex媒体服务器:
sudo apt install plexmediaserver
依赖关系树:
The following additional packages will be installed:
beignet-opencl-icd
The following NEW packages will be installed:
beignet-opencl-icd plexmediaserver
0 upgraded, 2 newly installed, 0 to remove and 32 not upgraded.
Need to get 94.7 MB of archives.
After this operation, 291 MB of additional disk space will be used.
Do you want to continue? [Y/n] y
Configuration file '/etc/apt/sources.list.d/plexmediaserver.list'
==> File on system created by you or by a script.
==> File also in package provided by package maintainer.
What would you like to do about it ? Your options are:
Y or I: install the package maintainer's version
N or O: keep your currently-installed version
D: show the differences between the versions
Z: start a shell to examine the situation
The default action is to keep your current version.
*** plexmediaserver.list (Y/I/N/O/D/Z) [default=N] ? Y
一旦安装,Plex服务将自动启动。使用以下命令进行验证:
$ systemctl status plexmediaserver
plexmediaserver.service - Plex Media Server
如果未启动,请按以下命令启动:
sudo systemctl start plexmediaserver
使服务在系统启动时自动运行:
sudo systemctl enable plexmediaserver
步骤3、为Plex配置Apache反向代理
此时,可以使用URL访问Plex仪表板,地址格式为http://localhost:32400/web,您还可以配置反向代理,以便远程访问Plex并使用HTTPS保护它。
在Debian 11/10上安装Apache Web服务器:
sudo apt install apache2 -y
安装Apache后,为Plex创建一个VirtualHost文件:
sudo vim /etc/apache2/sites-available/plex.conf
在文件中,添加以下行:
<VirtualHost *:80>
ServerName plex.computingforgeeks.com
ErrorDocument 404 /404.html
#HTTP proxy
ProxyPreserveHost On
ProxyPass / http://localhost:32400/
ProxyPassReverse / http://localhost:32400/
#Websocket proxy
<Location /:/websockets/notifications>
ProxyPass wss://localhost:32400/:/websockets/notifications
ProxyPassReverse wss://localhost:32400/:/websockets/notifications
</Location>
</VirtualHost>
保存文件,启用站点和proxy模块:
sudo a2enmod proxy_http
sudo a2enmod rewrite
sudo a2ensite plex.conf
将默认的Apache conf移动到备份文件,如下所示:
sudo mv /etc/apache2/sites-enabled/000-default.conf /etc/apache2/sites-enabled/000-default.conf.bak
重新启动Apache:
sudo systemctl restart apache2
步骤4、访问Plex Web UI
此时,您可以使用URL访问,地址格式为http://IP_address/web或者http://domain_name/web:
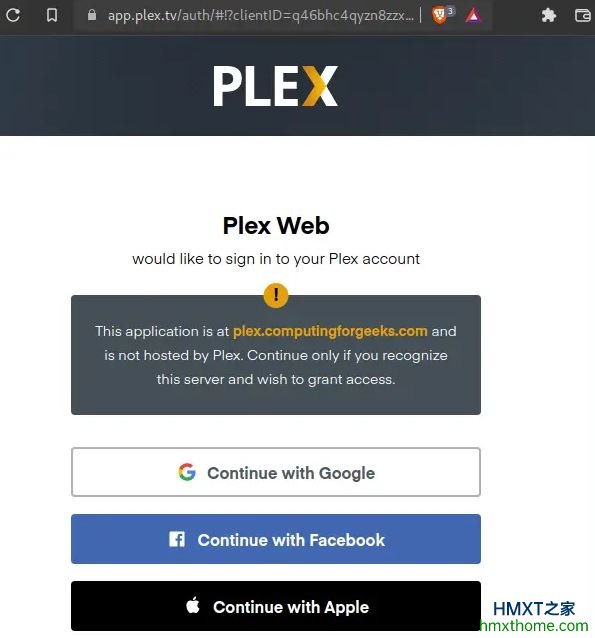
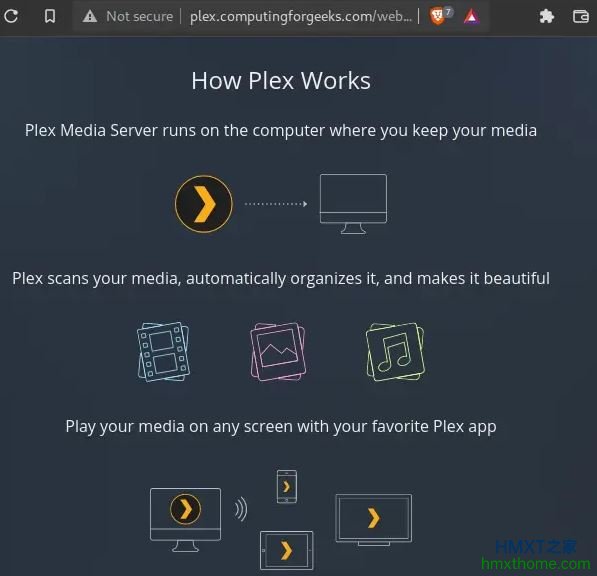
使用任何首选方法登录Plex。浏览描述Plex及其工作原理的页面:
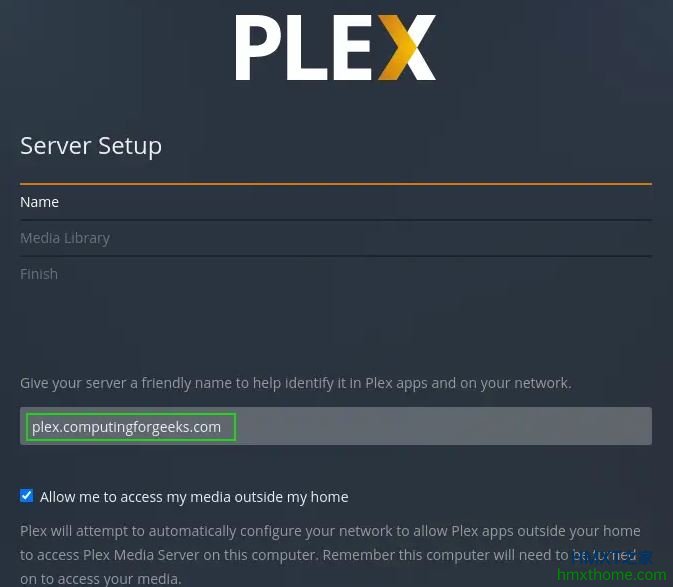
现在配置Plex,首先设置服务器名称:
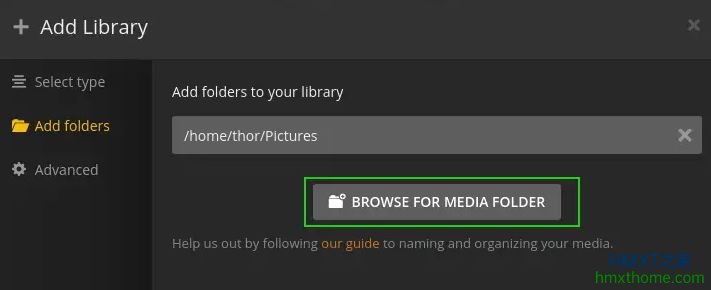
继续并设置媒体库。这将允许您预先添加媒体目录(如果已经存在)。单击添加库并按以下步骤进行操作:
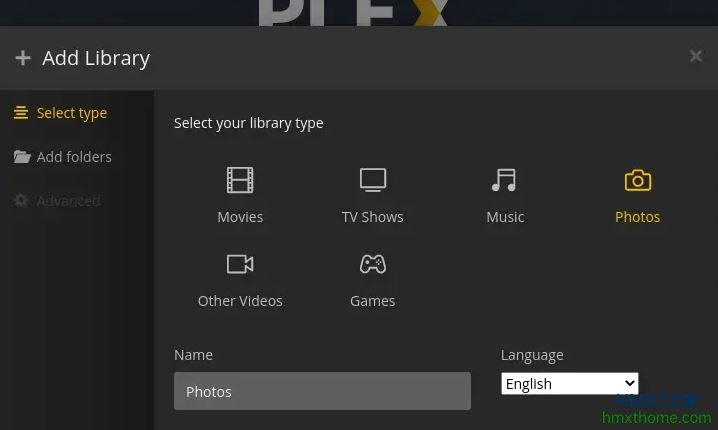
选择要添加的库类型。浏览本地存储上的媒体并添加它:
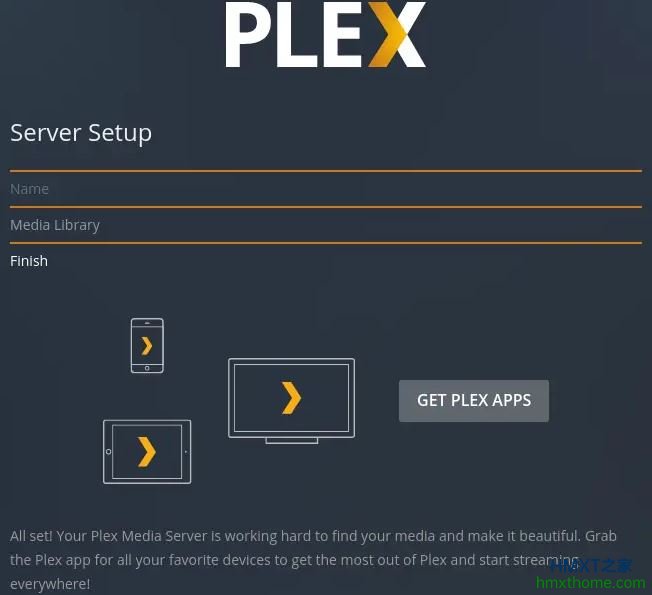
现在,配置了首选媒体库,继续下一步,完成服务器设置:
现在您将看到Plex仪表板显示如下:
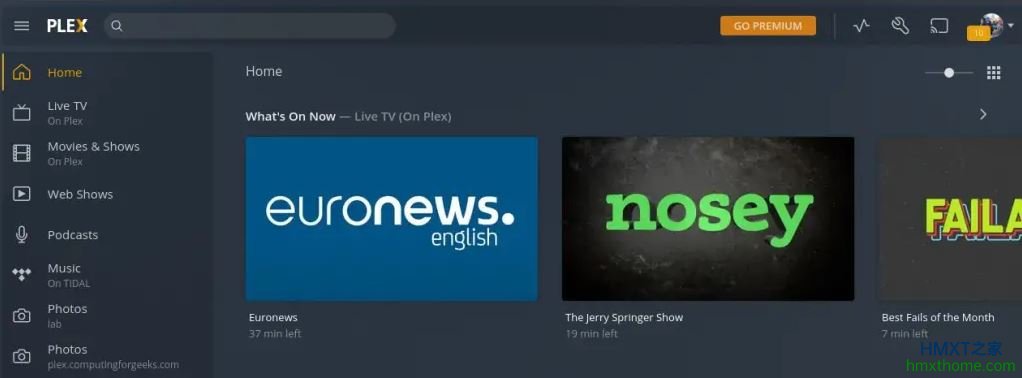
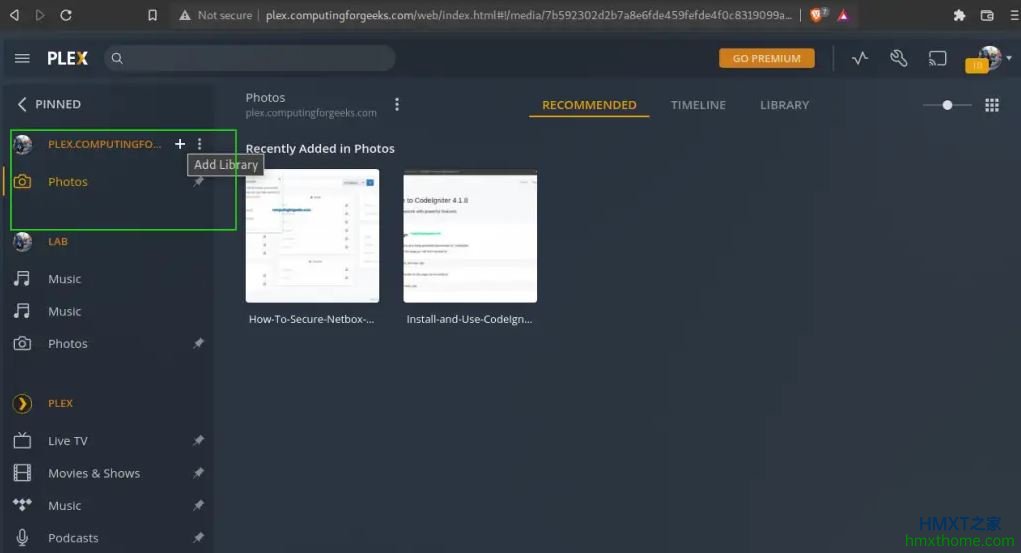
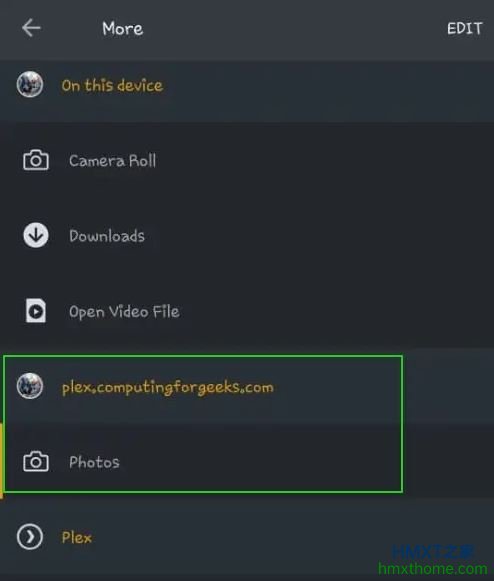
现在,您可以继续观看电视、电影、播客和音乐。例如,观看实况电视时,需要从提供的列表中选择所需的实况电视频道。要查看本地存储文件,请单击更多,您的媒体服务器将显示添加的库。您还可以在此处添加更多库:
另外,在设置选项卡下可以对Plex进行语言、用户界面、插件等配置,可根据自身喜好进行配置。
步骤5、设置Plex客户端
Plex客户端可以安装在几个平台上,如Android、Mac、Apple TV、Windows,当前客户端应用程序在Plex应用程序页面上提供,地址在https://www.plex.tv/media-server-downloads/#plex-app。
例如,使用Android客户端,我可以查看添加的媒体库,在我的帐户上查看频道。这个可以在登录Plex帐户后就可以进行配置了,非常的简便,以下是从Plex服务器媒体库中查看媒体的截图:
结论
通过以上方法,可以成功的在Debian 11/10系统上安装和配置Plex媒体服务器,最后,用户也可以进行配置SSL证书,以保护Plex Media Server的访问。
当前通过在Debian 11/Debian 10上设置Plex媒体服务器,您可以存储音乐、视频、照片等数字媒体,并在互联网上的任何位置访问它们。
相关资讯


