更新时间:2023-03-28 09:43:38浏览次数:793+次
本文介绍在Debian 11/10/9 Linux系统上下载和安装Nessus漏洞扫描程序的方法。
简介
Nessus是一种流行且广泛使用的漏洞评估工具,适用于web和移动应用程序,可以部署在本地或云环境中。它扫描和检测嵌入式设备的恶意软件、配置审核、合规性检查以及许多其他功能。当前Nessus可用于扫描和审核以下环境:
虚拟化:适用于VMware ESX、ESXi、Hyper-V、vSphere、vCenter和Citrix Xen Server。
操作系统:如Mac、Windows、Linux、BSD、Cisco iOS、Solaris、IBM iSeries。
云:它可以用于扫描云应用程序和实例,如Salesforce和AWS。
数据库:Oracle、SQL Server、MySQL、DB2、Informix/DRDA、PostgreSQL、MongoDB。
网络设备:防火墙/路由器/交换机(Juniper、Check Point、Cisco、Palo Alto Networks)、打印机、存储器。
Web应用程序:Web服务器、Web服务、OWASP漏洞。
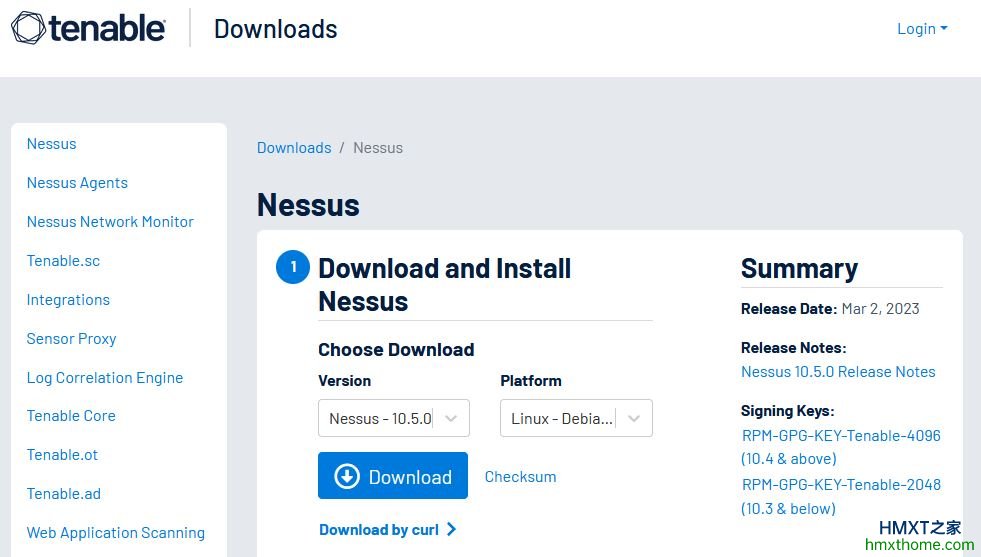
注:用户可从官方Nessus下载页面下载最新的可用软件包,地址在https://www.tenable.com/downloads/nessus,其下载页面如下图所示:
在Debian 11/10/9上下载和安装Nessus漏洞扫描程序
1、下载并安装Nessus
从Nessus的官方下载页面您可以下载.deb软件包,以便在Debian 11/10/9系统上安装。为了安装Debian,我下载了一个名为Nessus-10.5.0-debian10_amd64.deb的软件包:
sudo apt update && sudo apt install wget -y
wget 'https://www.tenable.com/downloads/api/v2/pages/nessus/files/Nessus-10.5.0-debian10_amd64.deb' -O Nessus-10.5.0-debian10_amd64.deb
如果是用curl,如下:
curl --request GET \
--url 'https://www.tenable.com/downloads/api/v2/pages/nessus/files/Nessus-10.5.0-debian10_amd64.deb' \
--output 'Nessus-10.5.0-debian10_amd64.deb'
现在下载了软件包,导航到下载目录,并使用下面的命令安装Nessus:
sudo apt install -f ./Nessus-10.5.0-debian10_amd64.deb
样本输出:
Reading package lists... Done
Building dependency tree... Done
Reading state information... Done
Note, selecting 'nessus' instead of './Nessus-10.5.0-debian10_amd64.deb'
The following NEW packages will be installed:
nessus
0 upgraded, 1 newly installed, 0 to remove and 9 not upgraded.
Need to get 0 B/61.6 MB of archives.
After this operation, 0 B of additional disk space will be used.
Get:1 /root/Nessus-10.5.0-debian10_amd64.deb nessus amd64 10.5.0 [61.6 MB]
Selecting previously unselected package nessus.
(Reading database ... 33876 files and directories currently installed.)
Preparing to unpack .../Nessus-10.5.0-debian10_amd64.deb ...
Unpacking nessus (10.5.0) ...
Setting up nessus (10.5.0) ...
Unpacking Nessus Scanner Core Components...
Created symlink /etc/systemd/system/nessusd.service → /lib/systemd/system/nessusd.service.
Created symlink /etc/systemd/system/multi-user.target.wants/nessusd.service → /lib/systemd/system/nessusd.service.
- You can start Nessus Scanner by typing /bin/systemctl start nessusd.service
- Then go to https://debian11:8834/ to configure your scanner
2、启动并启用Nessus服务
成功安装Nessus漏洞扫描程序后,使用命令在Debian 11/10/9上启动并启用nesssud服务:
sudo systemctl start nessusd
sudo systemctl enable nessusd.service
验证服务是否正在运行:
$ systemctl status nessusd.service
nessusd.service - The Nessus Vulnerability Scanner
Loaded: loaded (/lib/systemd/system/nessusd.service; enabled; vendor preset: enabled)
Nessus在端口8834上侦听。如下所示进行验证:
$ sudo ss -plunt|grep 8834
tcp LISTEN 0 1024 0.0.0.0:8834 0.0.0.0:* users:(("nessusd",pid=2781,fd=13))
tcp LISTEN 0 1024 [::]:8834 [::]:* users:(("nessusd",pid=2781,fd=15))
如果您启用了ufw,请允许此端口通过防火墙,如下所示:
sudo ufw allow 8834/tcp
接下来可配置Nessus以便使用Nessus漏洞扫描程序:
其配置的方法可参考在Rocky Linux 8/AlmaLinux 8上安装和配置Nessus一文,地址在https://www.hmxthome.com/linux/4971.html,和里面介绍的方法是一样的。
相关资讯


